Using Light Painting to Enhance Landscape Photography
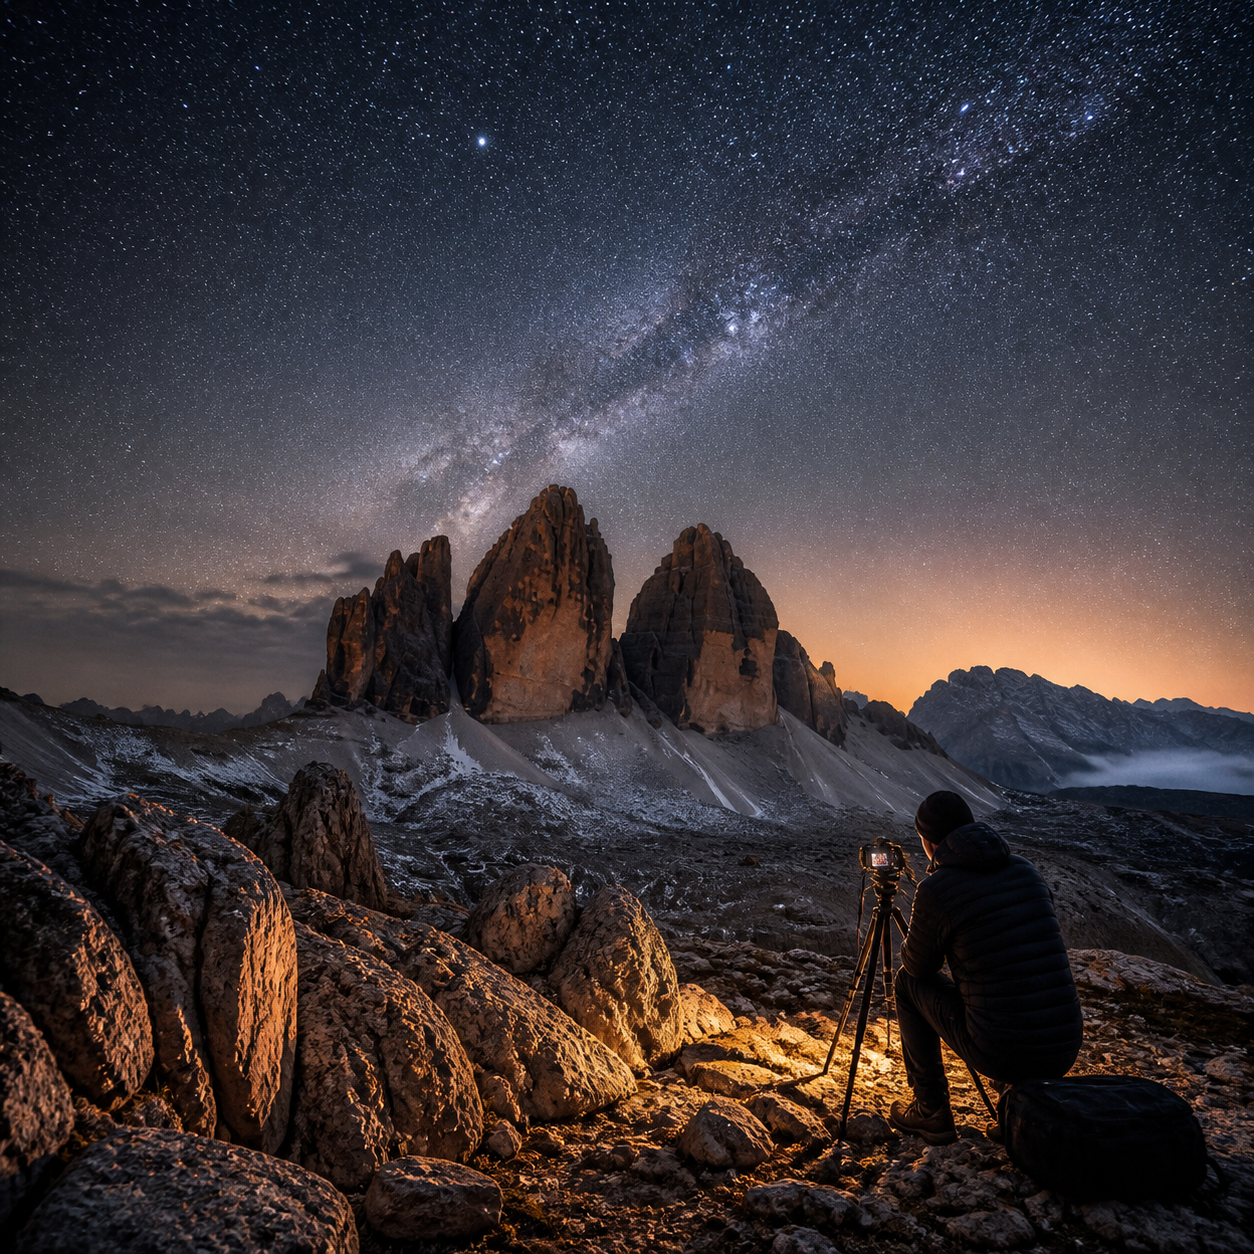
Light painting can turn a dark landscape into a carefully shaped scene. By moving a controlled light source through a long exposure, you can reveal foreground texture, emphasize natural features, and guide the viewer through the frame without overpowering the environment.
The technique works best when added illumination supports existing moonlight, starlight, or blue-hour color. Think of the landscape as the foundation and light painting as a brush used selectively rather than a floodlight aimed at everything.
What Light Painting Adds to Landscape Photography
Light painting adds controlled illumination, depth, and mood to landscape photography by revealing details that ambient light alone may leave hidden. It is especially effective during nighttime or low-light shoots when natural contrast can make a foreground disappear.
A brief sweep across nearby rocks, tree trunks, or a trail can establish visual depth between the foreground, middle ground, and background. A small amount of side lighting also reveals texture more effectively than light pointed directly at a subject.
Light painting can emphasize a natural feature such as an arch, boulder, abandoned structure, or winding path. The goal is usually selective emphasis. If every surface receives equal brightness, the image may look flat and artificial.
Color changes the emotional character of the photograph. A warm light source can create contrast against a cool blue night, while a neutral white beam may preserve the apparent color of stone, grass, or snow. Keep the effect believable unless a deliberately surreal result is your intention.
Ambient light remains part of the composition. Moonlight, twilight, nearby settlements, and light pollution affect the background exposure, sky color, and contrast. A successful frame often comes from balancing those elements rather than trying to eliminate them.
Essential Equipment for Landscape Light Painting
The essential equipment for landscape light painting is a camera, wide-angle lens, sturdy tripod, remote shutter release, headlamp, and controllable light source. Each item solves a different problem during a long-exposure shoot.
- Camera: A model with manual exposure, RAW capture, and reliable long-exposure performance gives you control over the final image.
- Wide-angle lens: A wide field of view helps include dramatic foreground elements, sky, and distant landscape. Choose the focal length according to the location rather than automatically using the widest lens available.
- Sturdy tripod: Long exposures magnify vibration, so place the tripod on solid ground and avoid extending the center column when possible.
- Remote shutter release: A cable or wireless release reduces camera shake. The camera’s self-timer can also work when a release is unavailable.
- Headlamp: Use a headlamp with a red-light mode for organizing equipment while protecting night vision. Turn it off during the exposure unless it is part of the image.
- Light-painting tools: Small flashlights, LED panels, fiber-optic tools, and diffused lamps each create different edges and shadows. A flashlight with adjustable intensity is a practical starting point.
Carry spare batteries because cold temperatures and repeated test exposures consume power quickly. A small piece of black cloth or a lens hood can also help shield the lens from stray light, while reflective clothing should be avoided during the exposure.
Planning a Light-Painted Landscape Scene
To plan a light-painted landscape scene, choose the location first, assess ambient light, identify compositional anchors, and decide where illumination should begin and end. Planning reduces wasted exposures and helps the final lighting look intentional.
Visit the location in daylight when possible. Look for a foreground object that creates scale, a leading line such as a path or shoreline, and a background feature that remains recognizable in darkness. Check the ground for loose rocks, steep drops, fragile vegetation, or restricted areas.
Assess the direction of moonlight and nearby artificial light. A bright town or road may create an attractive glow, but it can also reduce contrast and make a subtle light-painting effect difficult to control. Weather matters too: clouds can reflect city light, while clear skies may provide stronger stars and darker shadows.
Before setting up, decide whether the light should come from the side, behind, or slightly above the subject. Side lighting usually shows texture. Front lighting reveals color but can appear flat. Backlighting can separate an object from the background and create a rim of light.
Plan the light painter’s path before opening the shutter. Mark safe standing positions mentally, and avoid crossing fragile ground. Respect other photographers by shielding your beam and waiting for their exposures to finish.
Camera Settings for Long-Exposure Light Painting
Start with manual exposure, a low ISO, a suitable aperture, a long shutter speed, RAW capture, and manual focus. There is no universal setting because ambient light, subject distance, moon phase, and light-source intensity vary from scene to scene.
- ISO: Begin at a low value to control noise and preserve highlight detail. Raise it only when the scene is too dark or the required shutter speed becomes impractical.
- Aperture: A mid-range aperture can provide useful depth of field while limiting excessive light. Open the aperture for faint scenes, or stop down when the light source is strong and foreground detail is already bright.
- Shutter speed: Use enough time to expose the landscape and complete controlled passes. A few seconds may work for a small foreground; several minutes may be necessary for a very dark scene or multiple lighting zones.
- Focus: Focus on the main landscape feature using a bright light or live view, then switch the lens to manual focus. This prevents autofocus from hunting when the scene becomes dark.
- RAW: RAW files retain more flexibility for recovering highlights, adjusting white balance, and balancing painted light with the sky.
Make a test shot before painting. Check the histogram and the brightest areas, not only the rear-screen preview. If the sky is already correctly exposed, add a gentle pass rather than increasing overall exposure. Disable image stabilization when the camera is firmly mounted on a tripod if your lens or camera system recommends doing so.
Light Painting Techniques for Landscapes
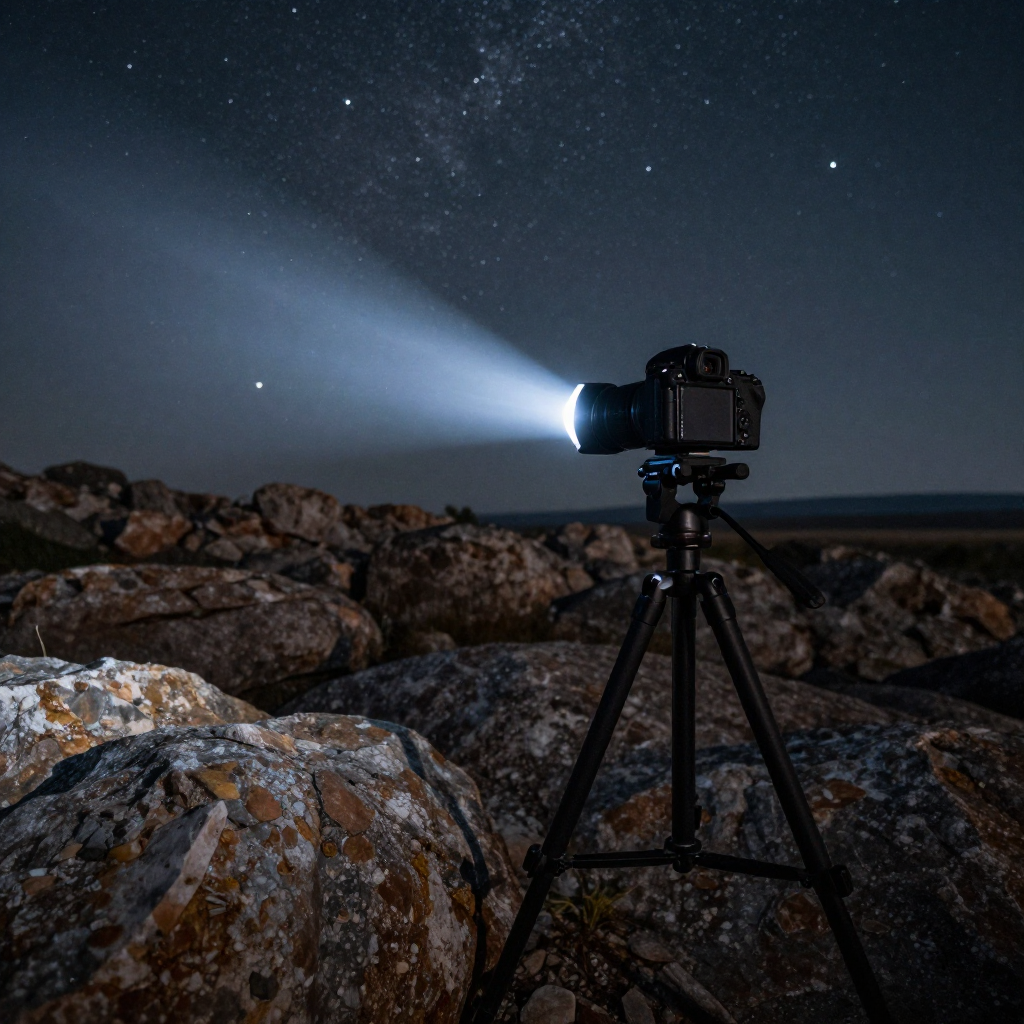
Effective landscape light painting uses controlled passes that match the shape, distance, and texture of the scene. Move the light continuously, vary its angle, and keep the source pointed away from the camera unless you intentionally want visible light trails.
Paint foreground objects
Start with nearby rocks, tree trunks, or plants. Sweep the light across the surface from the side, keeping the beam moving to avoid hot spots. Objects close to the camera require less power and shorter passes than distant subjects.
Trace natural contours
Follow a ridge, path, shoreline, or canyon wall with a controlled beam. Tracing can strengthen an existing leading line, but keep the illumination uneven enough to preserve natural depth. A gradual falloff toward the edges often looks more convincing than a bright outline.
Illuminate subjects selectively
Break the scene into zones. Give a little light to the foreground, a separate pass to the central subject, and none to areas that should remain quiet. This creates hierarchy and prevents the image from becoming uniformly bright.
Create light trails
For deliberate light trails, move a visible lamp through the frame at a steady pace. Wear dark, non-reflective clothing and keep your body moving so the camera records the light rather than your silhouette. A trail can connect foreground and background, but it should support the composition rather than compete with the landscape.
Use hidden or off-camera lighting
Stand outside the frame or behind a rock, tree, or structure. Lighting from a concealed position can create dimensional shadows while keeping the light painter invisible. Take several passes from slightly different angles and compare them during review.
Step-by-Step Workflow in the Field
To execute a light-painted landscape, compose the frame, focus manually, establish the ambient exposure, add controlled passes, review the result, and adjust one variable at a time. A repeatable workflow is more reliable than improvising every exposure.
- Compose the frame: Set the tripod, level the camera, and check the edges for distracting branches, bright roads, or unwanted light sources.
- Focus: Use a temporary light on the main subject, focus carefully, and switch to manual focus.
- Establish exposure: Make a test shot using the sky and natural landscape as your reference. Record the ISO, aperture, and shutter speed.
- Position the light painter: Choose safe paths and stay outside the frame. Keep the beam shielded from the lens.
- Make controlled passes: Begin with less light than you think you need. Paint one zone at a time and vary the angle for texture.
- Review the image: Inspect highlights, shadows, light trails, and the histogram. Zoom in to check for accidental movement or hot spots.
- Adjust incrementally: Change the light’s distance, angle, duration, or diffusion before changing several camera settings at once.
For difficult scenes, capture separate exposures for different lighting ideas. A darker ambient frame and several subtle painted frames can give you options during careful post-processing, provided the camera remains locked in place.
Common Mistakes and How to Improve Results
The most common light-painting mistakes are uneven illumination, blown highlights, visible movement, camera shake, distracting backgrounds, and excessive artificial light. Each problem usually has a practical correction.
Uneven illumination
Photographers often hold the light too close or pause over one area. This happens because the beam looks dim to the eye in darkness. Move farther away, diffuse the source, and keep the motion steady. Several gentle passes are easier to control than one powerful sweep.
Blown highlights
Bright rocks or reflective surfaces can clip quickly. Reduce the light intensity, shorten the pass, or stop down the aperture. Check the histogram and highlight warnings after every test.
Visible light-painter movement
A person can appear as a ghostly silhouette when the light reaches the clothing. Wear dark matte layers, move continuously, and remain behind opaque objects when possible. If the person still appears, reposition the light or make a separate exposure without the painter.
Camera shake
Touching the camera, standing on the tripod leg, or placing it on unstable soil can soften the entire frame. Use a remote shutter release, a short delay, and a stable tripod position. Check sharpness at 100 percent rather than trusting the small preview.
Distracting backgrounds and excessive lighting
A bright road, headlamp, or nearby building may pull attention away from the intended subject. Recompose, wait for passing light, or use your body and a flag to block stray beams. If the painted light dominates the sky or erases natural shadows, reduce it until the landscape still feels like the primary subject.
Frequently Asked Questions
What camera settings work best for light painting landscapes?
Manual exposure, a low ISO, RAW capture, manual focus, and a shutter speed long enough for controlled passes are a strong starting point. Adjust aperture and shutter speed after a test shot because each location has different ambient light.
Which light source is best for landscape light painting?
A controllable flashlight or LED light is usually the most versatile choice. Select the beam width, color, and intensity according to the subject’s distance and texture. Diffusion helps soften harsh hotspots.
How do you avoid appearing in a long-exposure light-painting photo?
Wear dark, non-reflective clothing, keep moving, stand outside the frame, and hide behind landscape features. Shield the light from the camera and take a second exposure without the painter if necessary.
Can light painting be used during blue hour as well as at night?
Yes. Blue hour provides more ambient detail and usually requires less artificial light, making it useful for subtle foreground illumination. The shorter exposure window also leaves less time for complex light trails.
How can light pollution affect a light-painted landscape?
Light pollution brightens the sky, reduces star visibility, shifts color, and lowers contrast. It can still contribute an intentional urban glow, but you may need gentler painting, careful white-balance adjustment, and a composition that uses the glow rather than fights it.
Strong landscape light painting is built through restraint and repetition. Keep the camera stable, protect the natural atmosphere, and treat every pass as a small adjustment to the balance between ambient light and deliberate illumination.