What Is Light Painting Photography?
Light painting photography is a long exposure technique where you use handheld light sources to "draw" in the air while the camera shutter stays open, capturing the movement as luminous trails in a single frame. The results can look like glowing calligraphy, swirling orbs, or even detailed portraits — all created in complete darkness.
What makes this technique genuinely compelling is how accessible it is. You don't need a studio or expensive gear. You need a dark space, a camera capable of manual settings, and the right tools. That last part is where most beginners get stuck. With dozens of light sources available, knowing which tool produces which effect — and when to use it — is what separates a muddy exposure from a striking image.
Essential Camera Settings Before You Begin
Before picking up any light painting tool, your camera needs to be configured for long exposure photography. The core setup is straightforward: shoot in manual mode, mount your camera on a tripod, and work in a dark or near-dark environment.
Here are the baseline settings most light painters start with:
- Shutter speed: 10 to 30 seconds is a common starting range. Bulb mode lets you hold the shutter open as long as needed for complex compositions.
- Aperture: f/8 is a reliable middle ground — wide enough to capture light trails, narrow enough to keep the scene reasonably sharp.
- ISO: Start at ISO 100–400. Higher ISO introduces noise, which becomes visible in dark background areas.
- Focus: Autofocus struggles in darkness. Set focus manually before killing the lights, or use a small flashlight to briefly illuminate your subject.
These settings aren't fixed rules — they shift depending on the brightness of your tool and the complexity of what you're drawing. Treat them as a starting point, then adjust based on your test shots.
The Top 10 Light Painting Tools and How to Use Them
Each light painting tool produces a distinct visual effect, and understanding those differences helps you choose the right one for the image in your head. Here's a practical breakdown of the ten most useful tools in the craft.
1. LED Light Wand / Light Stick
The LED light wand is the most versatile entry point into light painting. It's a handheld rod — typically 30 to 60 cm long — packed with color-changing LEDs. Sweep it through the air during a long exposure and it traces clean, bold lines or curves across the frame. Many wands let you switch colors mid-shot, which opens up multicolored compositions in a single exposure.
Best for: writing text, drawing geometric shapes, creating layered color bands.
2. Fiber Optic Brush
A fiber optic brush is a bundle of thin optical fibers attached to a handle, with a small LED at the base illuminating all the strands simultaneously. The tips scatter light in soft, diffused points — almost like painting with tiny stars. The effect is delicate and organic, making it ideal for adding texture, hair detail in portraits, or dreamy background elements.
Best for: fine detail work, portraiture, creating "fairy dust" effects.
3. Steel Wool Spinner
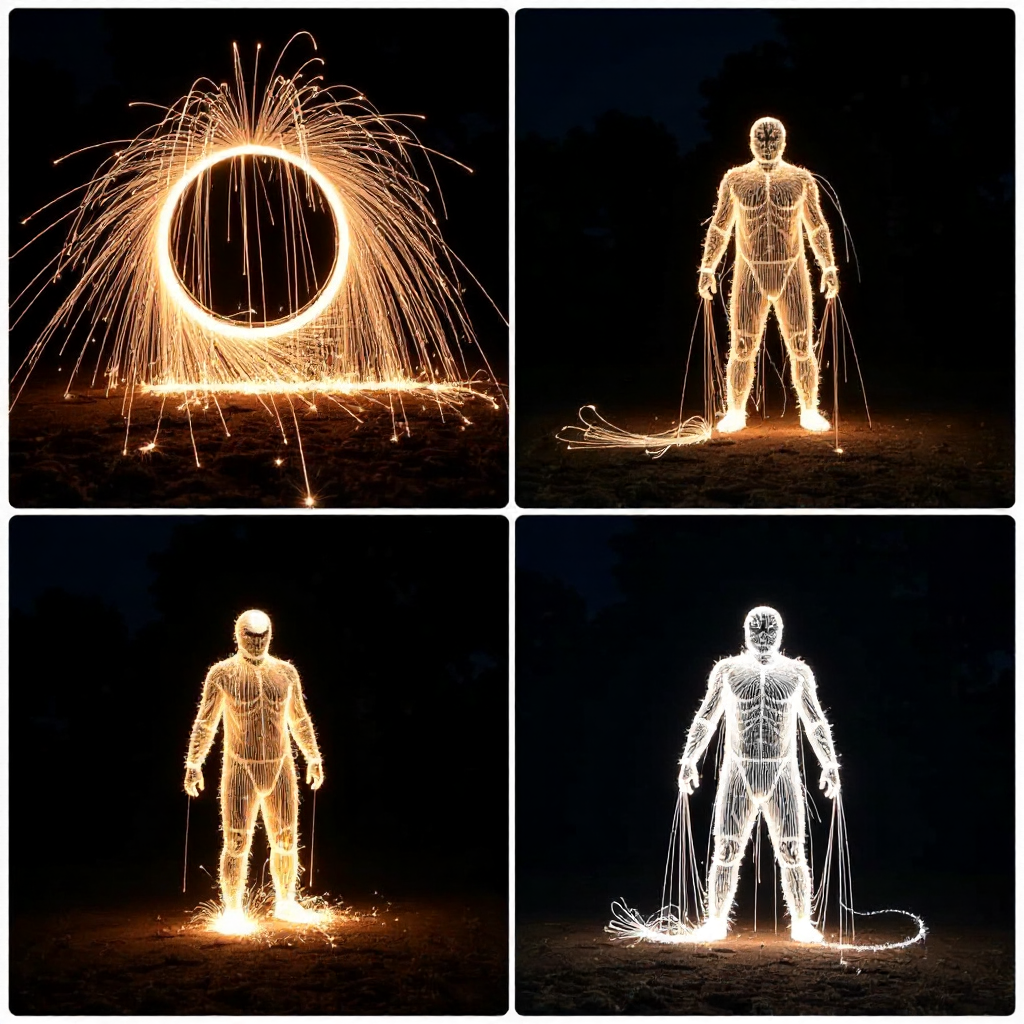
Steel wool photography involves igniting fine-grade steel wool (typically grade 0000) attached to a wire whisk or cage on a rope, then spinning it rapidly. The burning metal sheds thousands of sparks in a radial burst, creating a dramatic circular spray of golden light trails. It's one of the most visually striking effects in the craft — and one of the most hazardous.
Best for: dramatic outdoor night shots, industrial or abandoned location photography. Always use outdoors, away from dry vegetation.
4. EL Wire (Electroluminescent Wire)
EL wire is a thin, flexible wire coated in phosphor that glows continuously when powered by a small battery pack. Unlike LEDs, it produces a soft, even glow along its entire length with no hot spots. Wrap it around your body, a costume, or a prop, and long exposure captures it as a clean, continuous luminous line.
Best for: light suit photography, wrapping objects or figures, creating geometric outlines.
5. RGB LED Orb
An RGB LED orb is a spherical light source — sometimes a ball, sometimes a cage holding an LED strip — that you swing in a circle on a string or handle. The result is a perfect glowing sphere or ring in the final image, often called an "orb" or "light sphere." Changing colors mid-swing produces multicolored concentric rings.
Best for: orb photography, abstract circular compositions, adding geometric focal points to a scene.
6. Colored Gels and Filters
Colored gels are transparent sheets of tinted material placed over a flashlight, LED panel, or strobe to shift its color output. They don't generate light on their own — they transform existing light. A single white flashlight with a set of gels becomes a full-color painting tool. Layering multiple gels creates complex hues not available from RGB LEDs alone.
Best for: precise color control, painting specific areas of a scene, creative color mixing.
7. Laser Pointer or Laser Module
A laser produces an extremely tight, coherent beam that photographs as a razor-thin line with almost no diffusion. Green lasers (532nm) are the most visible in photographs. Point a laser at a reflective surface, fog, or smoke, and the beam becomes a precise geometric element in the composition. Laser modules with adjustable heads can fan the beam into a flat plane of light.
Best for: precise line work, geometric patterns, creating perspective lines or grids in architectural shots. Never aim at eyes or aircraft.
8. Flashlight with Snoot or Diffuser
A basic flashlight becomes a versatile light painting tool when modified. A snoot — a tube that narrows the beam — lets you "spotlight" specific areas of a scene during a long exposure, essentially painting with directional light. A diffuser softens and spreads the beam for broader, even illumination. This technique is widely used to selectively light subjects in landscape or environmental photography.
Best for: selective lighting, illuminating foreground elements in landscape shots, light-painting portraits.
9. Light Painting Brushes (LPB System)
The Light Painting Brushes (LPB) system is a modular toolkit developed specifically for the craft. It uses a standardized handle with interchangeable light heads — each producing a different pattern, texture, or diffusion effect. The system gives photographers repeatable, consistent results that are difficult to achieve with improvised tools. It's the closest thing the light painting world has to a professional standard kit.
Best for: photographers who want consistent, repeatable results; advanced compositional work; workshops and teaching environments.
10. Sparklers and Flame Sources
Handheld sparklers — the kind used at celebrations — create cascading golden sparks that photograph beautifully as chaotic, organic trails. Flame sources like fire staffs or steel wool alternatives produce warmer, more unpredictable light. Both add an element of natural randomness that's hard to replicate with LEDs.
Best for: festive imagery, organic texture, adding warmth and chaos to compositions. Always treat these as fire hazards and prepare accordingly.
Choosing the Right Tool for Your Style
The best light painting tool is the one that matches both your creative vision and your current skill level. Beginners benefit most from starting simple — an LED light wand or a basic flashlight with colored gels covers a wide range of effects without requiring safety precautions or complex setups.
If your goal is precise, controlled compositions — think geometric patterns or selectively lit portraits — a laser module or flashlight with a snoot gives you the most control. If you prefer organic, chaotic energy, steel wool and sparklers deliver results that feel genuinely unpredictable in the best way.
Environment matters too. Steel wool, sparklers, and flame sources are strictly outdoor tools. EL wire and fiber optic brushes work beautifully in small indoor spaces. RGB orbs need enough room to swing freely — typically at least three meters of clearance in all directions.
Safety Tips When Using Light Painting Equipment
Safety in light painting is non-negotiable, particularly when fire or high-voltage tools are involved. A few straightforward precautions protect both you and your shooting location.
- Steel wool and sparklers: Always shoot outdoors on non-flammable surfaces — concrete, gravel, or bare earth. Keep a bucket of water nearby. Never use near dry grass, wooden structures, or in windy conditions.
- Lasers: Never point any laser at another person's eyes or toward aircraft. Even low-power green lasers can cause permanent eye damage at close range.
- EL wire: The inverter boxes that power EL wire can get warm during extended use. Don't leave them unattended or cover them during operation.
- General: Wear dark clothing so you don't appear in the frame. Work with a partner when using fire-based tools — one person to spin, one to watch for hazards.
For an overview of photographic safety practices more broadly, the U.S. Occupational Safety and Health Administration provides general guidelines on working with electrical equipment and open flame in non-commercial settings.
Building Your First Light Painting Kit on a Budget
A functional starter kit doesn't require a large investment. Most beginners can cover the essentials for under $50 by being selective about which tools they prioritize first.
Start with these four items:
- A basic LED flashlight (adjustable zoom is useful)
- A small pack of colored gels cut to fit the flashlight head
- One or two sparklers (available at party supply stores)
- A remote shutter release for your camera — this keeps the camera still when you start the exposure
With just these tools, you can produce light-painted text, colored streaks, and sparkler trails. Once you've developed a feel for long exposure timing and composition, expand into EL wire or an LED wand. The LPB modular system is worth considering once you're committed to the craft — it's an investment, but it eliminates improvisation and gives you consistent results across sessions.
One thing beginners often overlook: a sturdy tripod matters more than the lights themselves. Camera movement during a 20-second exposure ruins the sharpest, most creative light work. Don't cut corners there.
Frequently Asked Questions
What is the easiest light painting tool for beginners?
An LED light wand or a basic flashlight with colored gels is the easiest starting point. Both are inexpensive, require no safety precautions, and produce clear, satisfying results from the first session.
Do I need a special camera for light painting photography?
No special camera is required, but you need one with manual exposure controls — specifically manual mode and the ability to set shutter speed to 10 seconds or longer (or Bulb mode). Most interchangeable-lens cameras and many advanced compact cameras support this. Smartphone cameras with manual or "pro" modes can work for simple experiments.
Can light painting be done outdoors?
Yes, and many photographers prefer outdoor locations for the added context — abandoned buildings, open fields, or urban environments at night. You'll need a very dark location with minimal ambient light. Overcast nights with no moon are ideal. Steel wool and sparklers should only be used outdoors.
How long should my exposure be for light painting?
Most light painting exposures run between 10 and 30 seconds. Complex compositions with multiple elements may require 60 seconds or longer in Bulb mode. The right duration depends on how bright your tools are and how much of the frame you need to cover — start at 15 seconds and adjust from there.
Are steel wool spinners safe to use indoors?
No. Steel wool spinning produces live sparks that travel several meters in all directions and can ignite flammable materials on contact. It should only be used outdoors, on non-flammable ground, with a clear perimeter and water nearby. Indoor use poses a serious fire risk regardless of precautions.