The Ultimate Guide to Light Painting Photography Techniques
Light painting photography sits at the intersection of patience, physics, and pure creative freedom. You move a light source through the air while your camera's shutter stays open, and the sensor records every photon of that journey. The result looks impossible — glowing orbs suspended in space, fiery trails, words written in light against a pitch-black sky. What makes it genuinely addictive is that no two exposures are ever identical.
What Is Light Painting Photography?
Light painting is a long exposure photography technique where a photographer uses handheld light sources to "paint" light into a scene while the camera shutter remains open for several seconds — or even minutes. The camera records the cumulative light from every movement, creating images that can't be captured any other way.
Unlike most photography disciplines, light painting rewards deliberate imperfection. A slightly wobbly arc becomes a dynamic swirl. An unexpected reflection adds depth you didn't plan. The dark environment acts as your canvas, and any light source becomes your brush.
The technique dates back to 1914, when Frank Gilbreth used it to study factory worker movements. Photographers like Man Ray and Pablo Picasso later explored it artistically. Today, with affordable LEDs and digital cameras that give instant feedback, it's accessible to anyone willing to work in the dark.
Essential Gear You Need to Get Started
You need surprisingly little to shoot your first light painting session — a camera with manual controls, a sturdy tripod, a light source, and darkness. That's genuinely the minimum viable setup.
Here's what each piece of gear does for you:
- Camera with manual mode: Any DSLR or mirrorless camera works. Even some advanced compact cameras support bulb mode. The key requirement is full control over shutter speed, aperture, and ISO.
- Tripod / camera stabilization: Non-negotiable. A 10-second exposure with any camera movement produces a blurry mess. Invest in a tripod that feels solid at full extension — cheap ones vibrate from wind or footsteps.
- Remote shutter release: Pressing the shutter button physically shakes the camera. A wired or wireless remote release (or your camera's self-timer set to 2 seconds) eliminates that shake entirely.
- Light sources: Start with what you already own — a flashlight or a phone torch. Expand from there as you identify what effects you want.
- Dark clothing: Wear black or dark colors. If you walk through the frame during the exposure, light-colored clothing will leave a ghost image of your body.
- A helper (optional but useful): For techniques involving subject illumination, a second person can hold still while you paint light around them.
A headlamp with a red-light mode is also worth keeping in your bag — it lets you see your equipment between shots without ruining your night vision or accidentally lighting the scene.
Camera Settings for Light Painting
The three settings that control a light painting exposure are shutter speed, aperture, and ISO — and they interact directly with how bright, sharp, and detailed your light trails appear. Getting them right is less about memorizing numbers and more about understanding what each one does.
Shutter Speed and Bulb Mode
Shutter speed determines how long you have to move your light source. For most light painting work, you'll use exposures between 5 and 30 seconds. For complex compositions, switch to bulb mode — a setting that keeps the shutter open for as long as you hold the remote release, giving you complete control over timing.
A longer shutter speed means more time to create detail, but also more time for any ambient light to bleed into your image. In a truly dark location, 30-60 seconds is workable. Near city light pollution, you may need to stay under 15 seconds.
Aperture
Aperture controls how much light reaches the sensor and how sharp the depth of field is. For light painting, f/8 to f/11 is a reliable starting range. A narrower aperture (higher f-number) means you can use a longer exposure without overexposing bright light trails, and it keeps more of your scene in focus.
ISO and Manual Focus
Keep ISO low — typically between 100 and 400. Higher ISO values amplify the sensor's sensitivity, which introduces digital noise that muddies the dark areas of your frame. Light painting relies on deep, clean blacks for contrast, so noise works against you.
Manual focus is essential because autofocus struggles in low-light conditions. Before your shoot begins, use a flashlight to illuminate your subject or focal point, autofocus on it, then switch your lens to manual focus and leave it there for the session.
Choosing and Using Your Light Sources
Different light tools produce fundamentally different visual effects, and part of developing your style as a light painter is learning what each one does to the image.
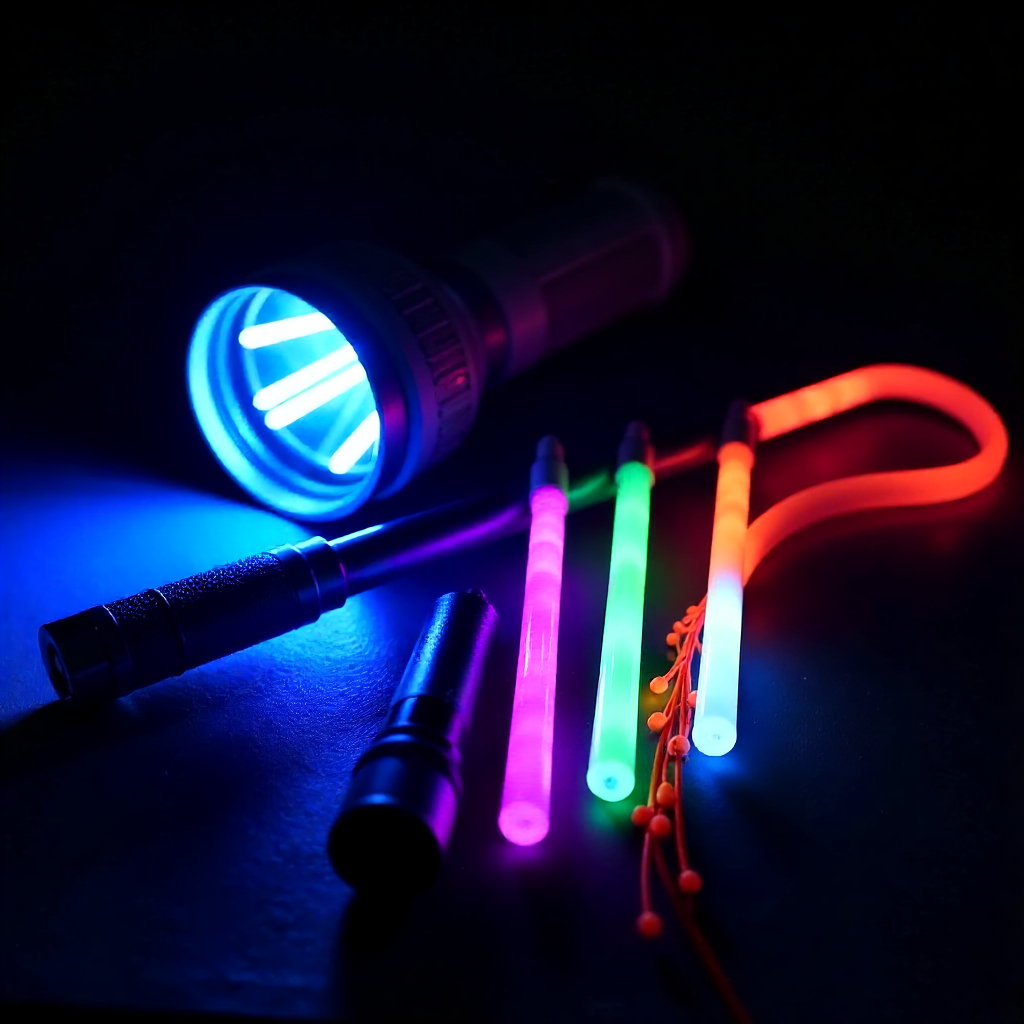
- LED wands and pixel sticks: These produce smooth, consistent trails with controllable color. Some LED wands can display programmed images or gradients as you move them, creating complex patterns in a single pass.
- Flashlights: The most versatile beginner tool. A narrow beam creates sharp, defined trails. Covering the lens with colored gels (cheap and widely available) adds color without buying specialized equipment.
- Fiber optic whips: Bundles of fiber optic strands that spray out fine, sparkling lines of light. They create an ethereal, almost liquid look when spun or swept through the air.
- Steel wool: Burning steel wool produces a dramatic shower of golden sparks. The visual effect is spectacular — but this technique carries real fire risk. Only use it outdoors, away from dry vegetation, on a non-flammable surface, with water nearby. Never do this alone.
- Glow sticks: Inexpensive and beginner-friendly. They produce soft, diffused trails with a characteristic glow. Attach one to a string and spin it for circular patterns.
The color temperature of your light source also matters. Warm flashlights produce orange trails; daylight-balanced LEDs produce white or blue-white. Mixing sources in one frame creates layered, multi-colored compositions.
Core Light Painting Techniques Step by Step
The most effective way to learn light painting is to practice one technique at a time until the movement feels natural, then combine them. Here are the foundational techniques, with specific instructions for each.
Freehand Light Trails
- Set up your camera on a tripod, pointed at a dark background or landscape.
- Set your exposure: ISO 200, f/8, shutter speed 10-15 seconds to start.
- Trigger the shutter with your remote release.
- Move your light source through the frame in continuous, deliberate strokes — waves, spirals, zigzags.
- Review the image and adjust: if trails are too dim, open the aperture or slow the shutter; if overexposed, do the opposite.
Light Orbs
- Attach a light source (glow stick or small LED) to a string roughly 60-90 cm long.
- Stand at the center of your intended orb location, directly in front of the camera.
- Open the shutter, then spin the light in a full circle around your body, rotating slightly with each pass to build a complete sphere.
- Step out of frame before the shutter closes — or wear dark clothing so you become invisible.
Light Writing
- Use a focused flashlight or a single LED pointed at the camera.
- Write letters in mirror image (reversed left-to-right) so they read correctly in the final photo.
- Move steadily and at a consistent speed — rushing creates thin, faint strokes; moving slowly creates bright, thick ones.
Subject Illumination
- Have a subject (person or object) hold perfectly still in the frame.
- During the exposure, use a flashlight to "paint" light across the subject — moving continuously to avoid hot spots.
- This technique lets you selectively light a subject without a flash, giving you precise control over where light falls.
Composition and Creative Tips for Stronger Images
Good composition transforms a technically correct light painting into a genuinely compelling photograph. The same rules that apply to other genres — leading lines, rule of thirds, foreground interest — apply here, with a few additional considerations specific to working in the dark.
Scout your location before dark. Arriving at a location after sunset and trying to compose in near-darkness is frustrating and wastes shooting time. Visit during daylight, identify interesting backgrounds and foreground elements, and mark your tripod position.
Background selection matters more in light painting than in most genres because the dark environment offers no visual context. A textured brick wall, a starry sky, an old vehicle, or an architectural element gives the viewer a sense of place that pure blackness can't provide.
Think about layering light across multiple exposures. Many experienced light painters shoot 3-5 separate exposures — one for the background, one for the light trails, one for the subject illumination — then blend them in post-processing. This approach gives you independent control over each element.
Plan your movement paths before you open the shutter. Walk through the motions in the dark without the light on. This sounds excessive, but even 30 seconds of rehearsal dramatically improves the smoothness and intentionality of your trails.
Editing Your Light Painting Photos
Post-processing for light painting is primarily about contrast, color, and — when you're blending exposures — masking. Adobe Lightroom handles most of what a single-exposure light painting needs; Photoshop becomes valuable when you're combining multiple frames.
Start with these adjustments in Lightroom:
- Blacks and shadows: Push the blacks slider left to deepen the dark areas. Light painting lives and dies by the contrast between bright trails and pure black backgrounds.
- Highlights and whites: Recover any blown-out highlights in the brightest parts of your light trails by pulling the highlights slider down.
- Color grading: Use the HSL panel to shift the hue of your light trails or add complementary colors to the shadows. Even subtle color grading gives light paintings a polished, intentional look.
- Noise reduction: Apply luminance noise reduction carefully — too much softens the fine detail in your trails. Start at 20-30 and adjust by eye.
When blending multiple exposures in Photoshop, the Screen blending mode is your primary tool. Stack your layers, set each to Screen, and the bright light trails from each frame combine while the black backgrounds become transparent. This technique lets you build complex compositions that would be physically impossible to execute in a single exposure.
Resist the urge to over-edit. The most common mistake in light painting post-processing is pushing saturation and contrast so far that the image looks artificial. The light trails themselves are already dramatic — the editing job is to support them, not compete with them.
Frequently Asked Questions
Do I need a special camera for light painting photography?
No special camera is required. Any camera that allows manual control of shutter speed, aperture, and ISO will work — including most DSLRs, mirrorless cameras, and some advanced compact cameras. The ability to use bulb mode is helpful for longer exposures but not strictly necessary for shorter ones.
What is the best shutter speed for light painting?
There's no single best shutter speed — it depends on how much time your technique requires. Simple freehand trails work well at 10-15 seconds. Complex orbs or multi-element compositions may need 30-60 seconds or bulb mode. Start at 15 seconds and adjust based on your results.
Can light painting be done indoors?
Yes, and indoors can actually be easier to control. You can black out windows to eliminate ambient light and work at any time of day. The main limitation is space — orb techniques and large sweeping trails need room. A darkened garage or studio works well.
How do I avoid camera shake during long exposures?
Use a solid tripod, trigger the shutter with a remote release or 2-second self-timer, and enable your camera's mirror lock-up feature if it has one. Avoid touching the tripod or camera during the exposure. On windy nights, hanging a weight from the tripod's center column adds stability.
Is light painting photography difficult for beginners?
The basic techniques are genuinely accessible — freehand trails and simple orbs can be learned in a single evening session. The learning curve comes from developing a feel for timing, movement speed, and how different light sources behave. Expect the first few sessions to be mostly experimentation, and treat that as part of the process rather than a sign you're doing it wrong.