How to Choose the Right Equipment for Light Painting Photography
What Makes Light Painting Different from Regular Photography
Light painting photography is a long exposure technique where you literally draw with light in a dark environment, capturing the movement of a light source across a single open frame. Unlike standard photography, where the camera freezes a single moment, light painting requires the shutter to stay open for seconds or even minutes while you move through the scene.
This changes everything about your gear choices. A camera that performs beautifully in daylight might fall apart at high ISO in darkness. A tripod that seems solid enough for landscape shots might introduce just enough vibration to blur a 30-second exposure. Even the light sources you carry become creative instruments, each one producing a completely different visual character.
Understanding these demands upfront saves you from buying gear that looks right on paper but fails in the field — usually at 2am in a dark field with dead batteries.
Choosing the Right Camera: Key Features to Look For
The single most important camera requirement for light painting is manual mode with Bulb mode support. Without these, you simply cannot control the long exposures this technique demands.
Bulb mode keeps the shutter open for as long as you hold the shutter button (or remote trigger), which is essential when your exposure might last 45 seconds or three minutes depending on the scene. Any DSLR or mirrorless camera with a manual mode will have Bulb mode — it's the full manual control that matters, not the brand or sensor size.
Beyond Bulb mode, pay attention to these three capabilities:
- High-ISO noise performance — Light painting often requires ISO 400–1600. A camera with poor high-ISO handling will produce grainy, muddy images that undermine your creative work. Larger sensors (full-frame or APS-C) generally handle this better than smaller ones.
- Live View or a bright viewfinder — Composing in near-total darkness is genuinely difficult. Live View on mirrorless cameras is particularly useful here, as many can boost the display brightness even when the scene is too dark for the eye to see clearly.
- Battery indicator accuracy — Long exposures drain batteries faster than normal shooting. A camera that gives you honest battery warnings matters more than you'd expect on a cold night outdoors.
Mirrorless cameras have a practical edge in light painting: the electronic shutter and in-body stabilization can reduce vibration during long exposures, though stabilization is less critical when you're using a tripod. DSLRs remain fully capable, especially models from the last decade that handle high-ISO shooting well.
Why a Sturdy Tripod Is Non-Negotiable
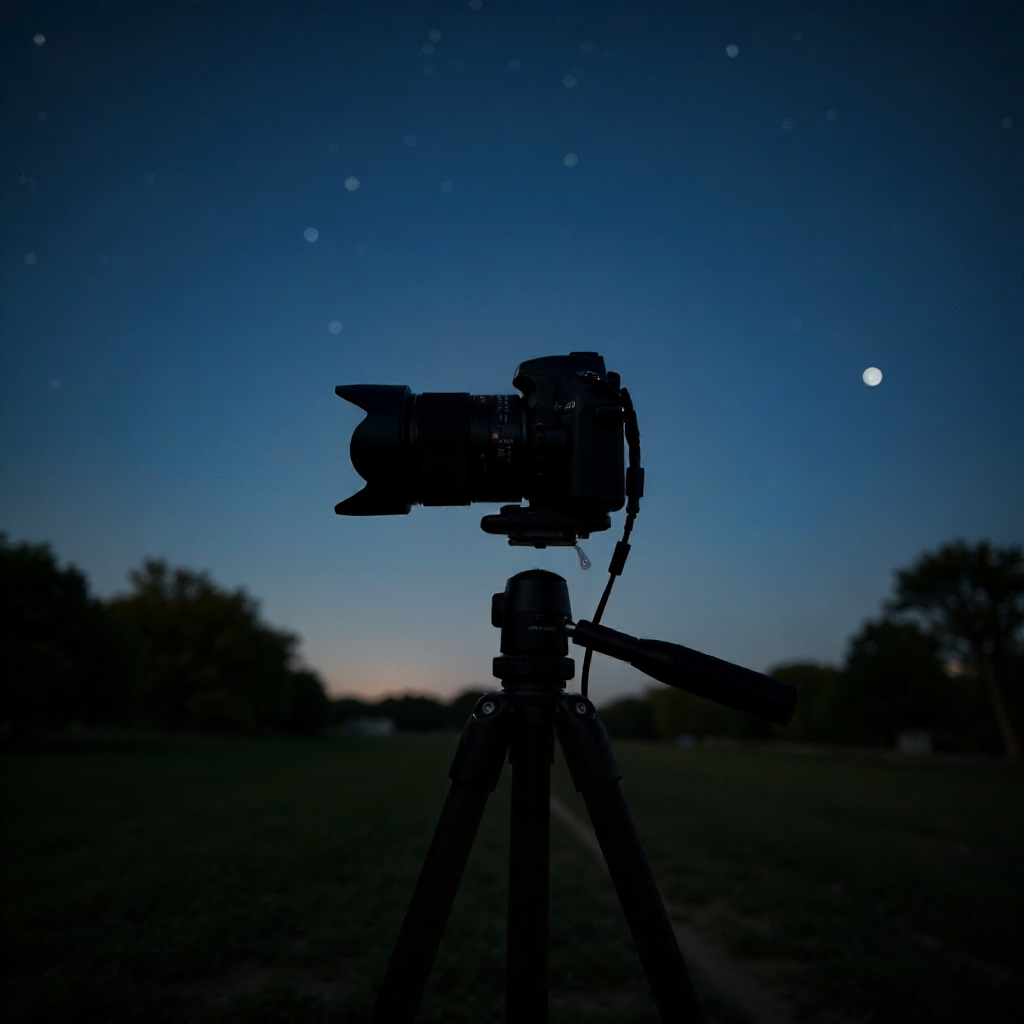
A stable tripod is the most important piece of supporting gear in light painting — not optional, not something to compromise on. Any camera movement during a 20-second exposure will produce a blurred background, which destroys the effect of crisp, intentional light trails.
When evaluating tripods for long exposure photography, focus on three things: weight capacity, leg-lock reliability, and head stability. The tripod should comfortably support your camera body plus your heaviest lens, with room to spare. Legs that creep or shift during a long exposure are worse than no tripod at all, because the blur they introduce is subtle and only obvious after you've spent 10 minutes setting up a shot.
Carbon fiber tripods are lighter and dampen vibration slightly better than aluminum, but they cost significantly more. For most beginners, a well-built aluminum tripod with a ball head rated for at least 1.5x your camera's weight is a perfectly solid starting point.
One often-overlooked detail: tripod feet. If you're shooting on grass, sand, or uneven outdoor terrain — common in light painting locations away from light pollution — spiked feet or rubber feet with good grip prevent the slow sink that can ruin a long exposure series.
Selecting Your Light Sources: Tools That Shape Your Art
Your light source is your paintbrush, and different tools produce radically different effects. The right choice depends entirely on the visual result you're trying to create.
Here's a practical breakdown of the most common light painting tools:
- LED wands and pixel sticks — These produce clean, consistent lines of color and are excellent for geometric patterns or writing text in the air. Many allow color changes mid-exposure, adding complexity to a single frame.
- Flashlights and torches — The most accessible starting point. A simple flashlight lets you "paint" light onto subjects within the scene (illuminating a car, a rock face, a person) or drag a beam across the frame. Beam width and color temperature both affect the result.
- Fiber optic tools — These create delicate, wispy trails that look almost like paint strokes. They're particularly effective for close-up or portrait light painting where fine detail matters.
- Steel wool spinning — Produces dramatic, explosive sparks when spun in a wire whisk and ignited. This is visually striking but carries real fire risk. If you try it, do so only in a safe outdoor location, away from dry vegetation, and with a fire extinguisher nearby.
- Colored gels and diffusers — Attach to any existing light source to change color or soften the beam. Inexpensive and versatile.
Beginners should start with a reliable flashlight and one or two gels. The creative range is already enormous, and you'll learn how light behaves in long exposures without managing complex equipment in the dark.
Essential Accessories That Improve Your Results
Beyond the camera and tripod, a small set of accessories makes the difference between a frustrating session and a productive one.
Remote Shutter Release
A remote shutter release (either wired or wireless) is close to mandatory. Pressing the shutter button by hand introduces camera shake at the start of the exposure — even with a tripod. A remote lets you trigger the shutter without touching the camera. For Bulb mode, a locking remote is ideal so you can hold the shutter open without holding anything down.
Extra Batteries
Long exposures consume battery power at a rate that surprises most beginners. A 30-second exposure at a cold outdoor location can drain a battery three to four times faster than normal shooting. Carry at least two fully charged spare batteries, and keep them in a pocket close to your body in cold weather — warmth preserves charge.
Memory Cards
Light painting sessions produce large RAW files, and you'll shoot many frames to get a handful of keepers. A high-capacity card (64GB or more) prevents the frustration of running out of space mid-session. Write speed matters less here than in video or burst shooting, so you don't need the fastest card available — just a reliable one with enough storage.
Aperture and ISO Considerations
These aren't accessories, but they're settings you'll adjust constantly. A lens with a wide maximum aperture (f/2.8 or wider) gives you more flexibility to control exposure without pushing ISO too high. Starting at ISO 400, f/8, and adjusting from there is a reasonable baseline for most light painting scenarios.
Budget vs. Advanced Setups: Building Your Kit at Any Level
Quality light painting is achievable at multiple budget levels — the technique rewards creativity and patience more than expensive gear.
A beginner kit can be assembled without spending much beyond what a casual photographer might already own: any DSLR or mirrorless camera with manual mode, a basic aluminum tripod, a flashlight, a pack of colored gels, and a wired remote shutter release. Total additional spend for someone who already has a camera: often under $50.
A mid-range setup adds a better tripod with a quality ball head, an LED wand or pixel stick, a locking wireless remote, and a fast wide-angle lens (24mm or 35mm at f/2.8 or wider). This opens up more creative options and makes outdoor sessions more reliable.
An advanced kit might include a full-frame mirrorless camera with excellent high-ISO performance, a carbon fiber tripod, multiple light sources including fiber optic tools, a set of ND filters for daytime long exposure work, and a dedicated intervalometer for automated multi-exposure sequences.
The honest advice: start with what you have, identify the specific limitation that's holding back your results, and upgrade that one thing. Buying a full advanced kit before you've shot 50 light painting sessions is how photographers end up with expensive gear they don't fully understand.
Common Equipment Mistakes to Avoid as a Beginner
Most early light painting failures trace back to a small set of predictable equipment errors.
Using an Unstable Tripod
The most common mistake is trusting a lightweight, flimsy tripod that seems stable until you look at a 30-second exposure and notice the background is soft. If your tripod wobbles when you press on the camera head, it will move during a long exposure. Test it before you go out at night — push on it, check that every lock is tight, and hang weight from the center column hook if it has one.
Setting ISO Too High
Beginners often push ISO to 3200 or higher trying to "see more" in the dark frame. In light painting, the scene is supposed to be dark — the light source creates the exposure. High ISO introduces noise that competes with the delicate light trails you're trying to capture. Start at ISO 400 and only increase if your light source is genuinely too dim to register.
Unreliable or Inconsistent Light Sources
A flashlight with dying batteries produces inconsistent brightness across a single exposure — brighter at the start, dimmer by the end. Always use fresh batteries in your light sources, or switch to rechargeable LED tools with a reliable charge indicator. Inconsistent output is almost impossible to fix in post-processing.
Ignoring Light Pollution
Shooting in a location with significant ambient light pollution shortens your usable exposure window dramatically. In a bright urban environment, a 30-second exposure may blow out the sky completely. Either find a darker location, reduce your aperture to limit ambient light, or adjust your creative approach to work with shorter exposures. The International Dark-Sky Association maintains resources for finding low-light-pollution locations, which is genuinely useful for planning outdoor sessions.
Frequently Asked Questions
What camera settings should I start with for light painting?
A reliable starting point is ISO 400, aperture f/8, and shutter speed in Bulb mode set to 15–30 seconds. Adjust from there based on how bright your light source is and how much ambient light exists in the scene. Shoot in RAW format so you have flexibility in post-processing.
Can I use a smartphone for light painting photography?
Some smartphones support manual shutter control through third-party apps, and basic light painting is possible with them. The main limitations are noise at high ISO, limited Bulb mode support, and the difficulty of keeping a phone perfectly stable for long exposures. For serious results, a dedicated camera with full manual mode is significantly more capable.
What is the best type of light source for beginners?
A simple, bright flashlight with fresh batteries is the best starting point. It's inexpensive, easy to control, and teaches you how light behaves during a long exposure without adding complexity. Add colored gels once you're comfortable with the basics.
Do I need a special lens for light painting?
No special lens is required. A wide-angle lens (24mm–35mm) is popular because it captures more of the scene, but any lens that focuses in low light and has a reasonably wide maximum aperture works fine. Autofocus struggles in darkness, so manual focus is standard practice — focus on your subject before the lights go out, then switch to manual to lock the focus point.
How important is shooting location when choosing equipment?
Location directly affects which equipment settings you'll need. A very dark rural location allows longer exposures and lower ISO settings, giving you more creative time per frame. An urban location with ambient light may require faster apertures, lower ISO, or shorter exposures to avoid overexposure. Scouting your location in daylight before a night session helps you anticipate these adjustments and pack the right gear.