DIY Light Painting Tools You Can Make at Home
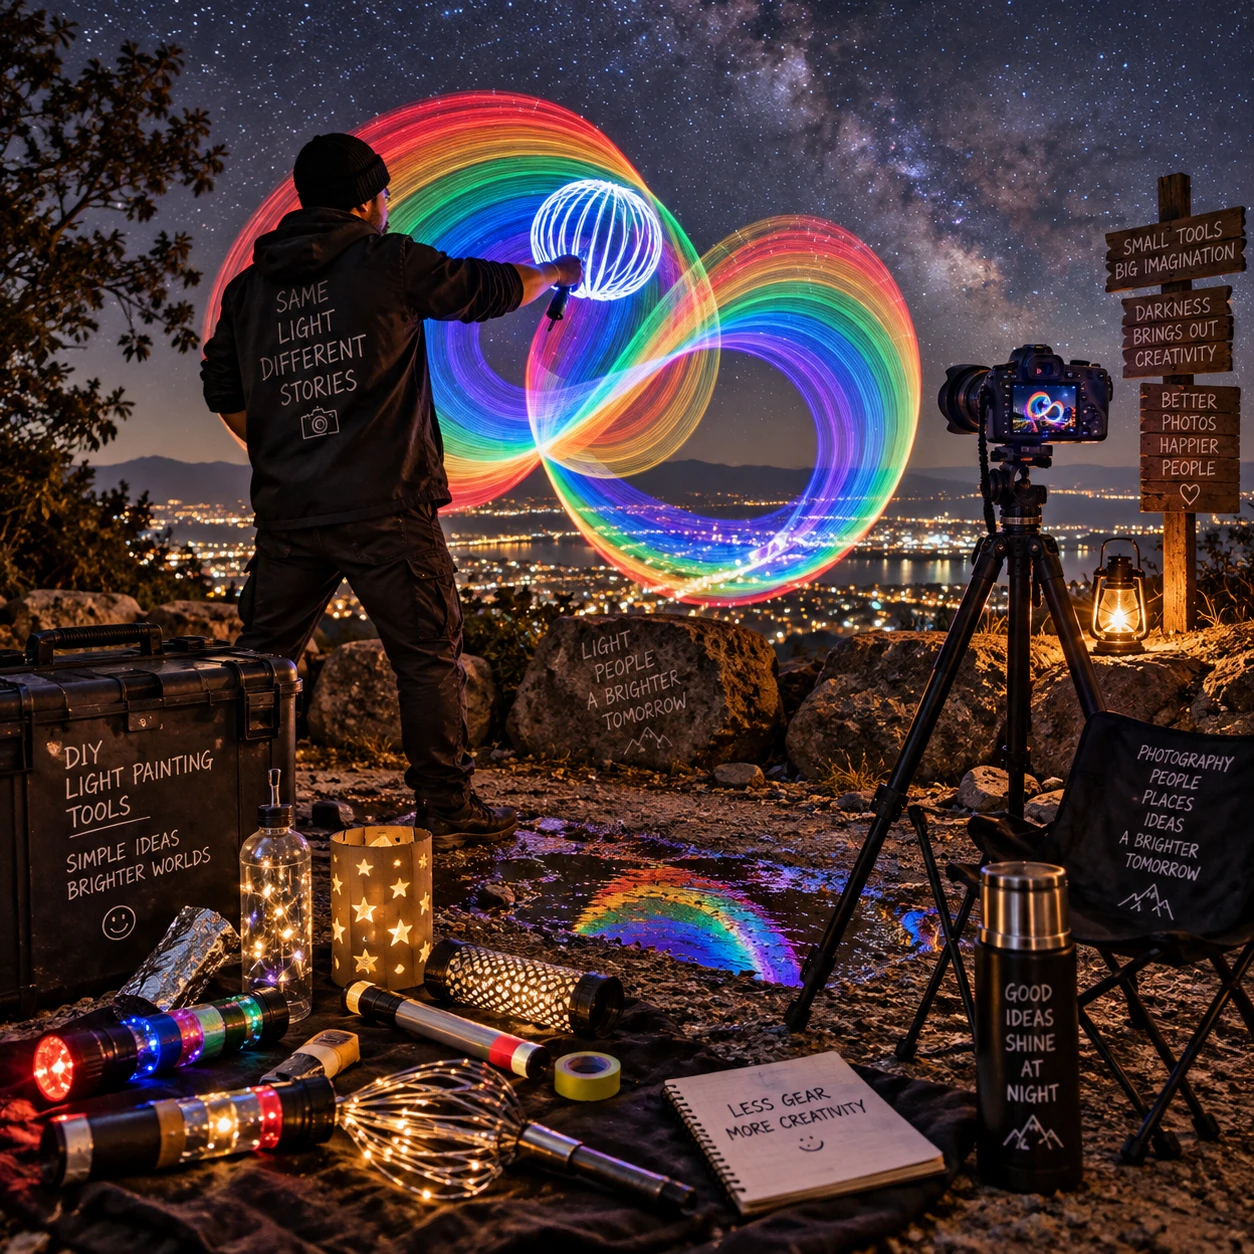
Light painting turns a small light source into a brush: during a long exposure, you move the light through a dark scene while the camera records its path. You can make useful tools with an LED flashlight, scrap cardboard, translucent plastic, and other items already at home.
Each attachment changes the beam. A diffuser softens it, a colored filter tints it, and a narrow tube helps direct it. Start with one tool at a time so you can see how its shape, brightness, and movement affect the photograph.
What You Need to Get Started
To get started with DIY light painting, use a camera that allows long exposures, a stable tripod, and a controllable light source such as an LED flashlight. Add basic household materials to shape or color the beam.
A camera with manual settings gives you control over shutter speed, aperture, and ISO. A camera tripod prevents the scene from blurring while you move the light. A phone can work if its camera app supports long exposure and the phone can be held securely, but manual controls make experiments easier to repeat.
Gather a few supplies before building:
- An LED flashlight with a steady beam and fresh batteries
- Cardboard from a cereal box or shipping package
- Translucent white plastic, tracing paper, or a piece of a clean plastic container
- Colored gels, theatrical lighting gel scraps, or transparent colored plastic
- Scissors, tape, and a rubber band
- Optional: clear plastic fiber-optic strands or a novelty fiber-optic lamp bundle
Test materials with the flashlight before a session. The beam should be visible to the camera, and the attachment should stay in place as you move. Avoid relying on a phone screen as the only light source; it is difficult to control and usually produces a broad, dim glow.
Make a Light Wand or Baton
A DIY light wand is a flashlight fitted with a translucent extension that spreads its beam into a visible line or broad streak. It works well for drawing arcs, outlines, and repeated shapes during a long exposure.
For a simple wand, cut a strip of translucent white plastic or tracing material wide enough to cover the flashlight lens. Secure it over the front with a loose rubber band or tape on the flashlight body. For a longer baton, roll a sheet of translucent plastic into a tube and fasten it so the light shines into one end. Keep the light source accessible, rather than sealing it inside the tube.
Move the wand smoothly through the frame while the shutter is open. A quick, even sweep creates a cleaner line; pausing in one spot makes that area brighter. Try walking a slow circle around a subject or rotating your wrist to make a fan of light. To create colored streaks, place a colored gel over the front of the flashlight, then add the diffuser in front of it if the color appears too sharp.
A larger diffuser can make the trail wider and softer, but it also spreads the light and may reduce brightness. If the wand looks faint in the image, use a brighter LED flashlight, move it closer to the camera, or slow the movement slightly.
Create a Cardboard Snoot and Light Shapers
A cardboard snoot is a short tube fitted over a flashlight that narrows and directs its beam. Cutout masks and shaped openings can create more controlled spots, lines, or silhouettes.
Roll a piece of cardboard into a tube that fits around the flashlight head, then secure the seam with tape. Keep the tube short enough that it cannot touch a hot lamp, and leave the flashlight’s ventilation openings clear. A snoot is especially useful for lighting a small part of a subject without washing light across the entire scene.
To make a basic light shaper, cut a small opening in a flat piece of cardboard and hold it in front of the beam. A thin slit produces a narrow line; a round hole creates a spot. You can also cut a simple star or other silhouette, though small shapes may blur if the mask sits too close to the light source. Keep the cutout steady and test it against a wall before using it in a photograph.
Distance changes the result: move the mask closer to the flashlight for a sharper outline, then farther away for a softer edge. If the beam spills around the shape, add a longer cardboard tube or cover gaps with opaque tape.
Try DIY Diffusers and Color Filters
A DIY diffuser softens a flashlight beam, while a color filter changes its hue. Both can be made from translucent household materials, but keep them away from hot bulbs.
For a quick diffuser, stretch a layer of tracing paper over the flashlight opening or attach a small piece of translucent white plastic. One layer gives a modest softening effect; additional layers reduce brightness and spread the beam more. Secure the material around the flashlight rim without covering switches or battery access.
For color, place a piece of colored gel or transparent plastic over the lens. Lighting gels are designed for colored light and generally give more consistent results than craft plastic. Household alternatives can work for experimentation, but their color may look uneven or fade under heat. Use an LED flashlight, which typically produces less heat at the front than an incandescent bulb, and check the filter between exposures.
Layering a color filter and diffuser creates a smoother colored trail. If the color looks weak, remove a diffuser layer or use a more saturated filter. If the light is too harsh, keep the filter and add a thin diffuser layer. Never attach paper, plastic, or gel to a hot bulb.
Build a Simple Fiber-Optic Effect Tool
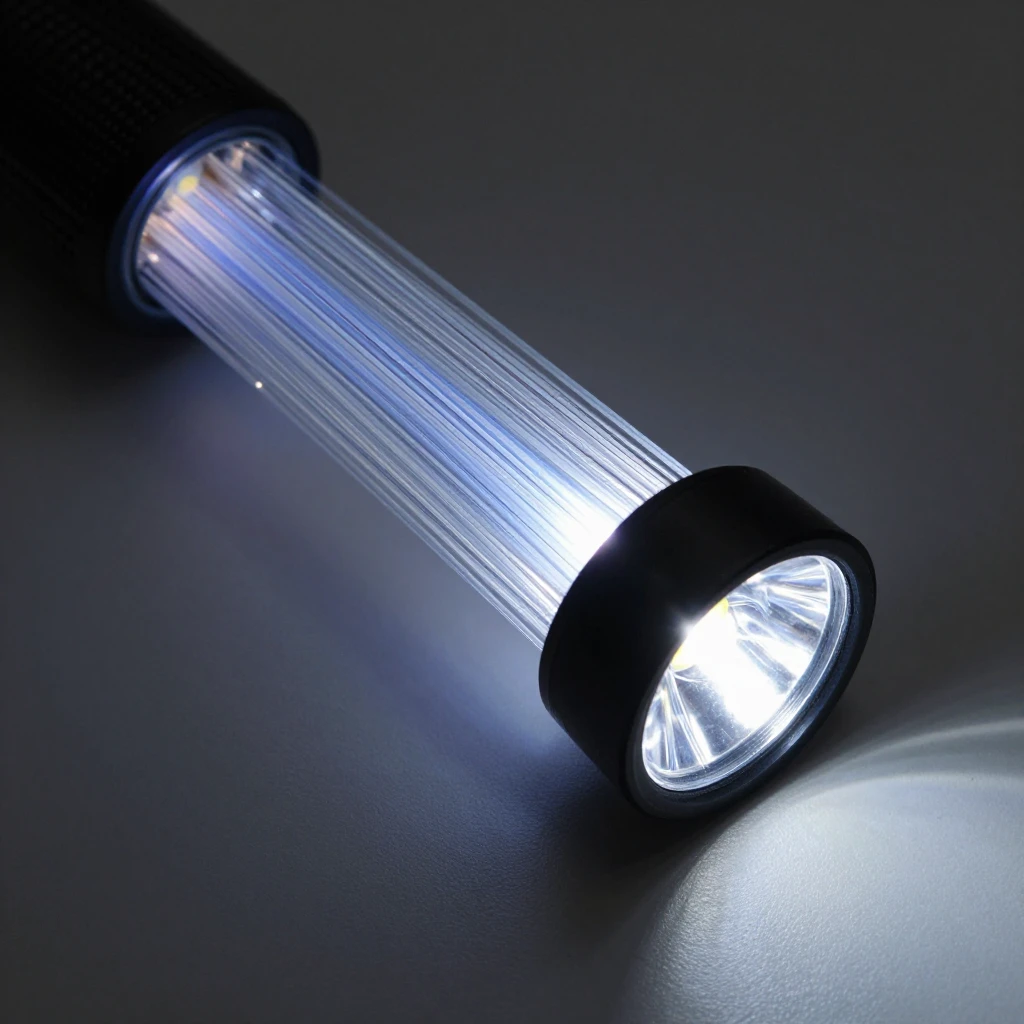
A simple fiber-optic tool directs light through fine plastic strands to produce delicate, branching trails. The easiest low-cost starting point is a bundle of clear plastic fibers from a novelty fiber-optic lamp or a similar household item.
Gather the strands at one end and hold that end against the LED flashlight lens. Use a rubber band around the bundle and flashlight body to keep the fibers aligned, but do not block the flashlight’s controls or vents. Darken the room, then move the free strands gently through the frame during the exposure. Their separate tips create fine points and branching lines rather than the solid streak of a wand.
Fiber bundles vary in quality, and some do not transmit much light. If the trails are too faint, shorten the distance between the flashlight and the fiber ends, use a brighter light, or make slower movements. Avoid cutting or sharply bending the strands, since damaged fibers can scatter light and create uneven results.
Use Your Tools in a Light Painting Session
For a light painting session, stabilize the camera, set a long exposure, keep the scene dark, and move the tool while the shutter is open. Test a short exposure first, then adjust one camera setting at a time.
Place the camera on a tripod and compose the frame before turning off the room lights. Choose manual mode or a long-exposure mode that lets you control the shutter. As a practical starting point, try a shutter speed of 10 to 20 seconds, an aperture around f/8, and ISO 100 or 200. These are starting points, not fixed rules: a brighter flashlight, nearby subject, or darker location may call for a shorter exposure or a smaller aperture.
- Focus on the subject while the lights are on, then switch to manual focus so the camera does not hunt in the dark.
- Use a timer or remote release to reduce camera shake when the exposure begins.
- Move the light tool smoothly and consistently. Keep your body out of the beam when possible, or wear dark clothing to make yourself less visible.
- Review the image and change one variable at a time: movement speed, shutter time, tool distance, or flashlight brightness.
Ambient light can wash out the trails, even when the light painting itself is bright. Turn off nearby lamps, close curtains, or move to a darker location. If the background is still too bright, shorten the exposure or lower the ISO before making the light tool more complicated.
Safety and Troubleshooting
DIY light painting tools are safest when you use cool-running LED lights, secure attachments, and clear walkways. Check for heat, protect batteries from damage, and make sure everyone can move safely in the dark.
Do not leave a flashlight switched on inside a covered attachment, and stop if a filter or plastic piece becomes warm. Keep batteries dry, use the correct type, and remove them if a tool will be stored for a long time. In a dark location, clear cables and tripods from walking paths; use a dim utility light between exposures so people can see without flooding the scene during the shot.
- Uneven or broken trails: Move the tool at a steadier speed and check that the attachment does not wobble.
- Light looks too bright: Move the source farther from the subject, move it faster, or reduce exposure time.
- Light looks too dim: Move more slowly, use fewer diffuser layers, or choose a brighter LED flashlight.
- Unwanted ambient light: Turn off nearby lights, block windows, and check for light entering from behind the camera.
One common frustration is changing several things between test shots. That makes the cause of improvement hard to identify. Keep a simple note of the exposure and tool movement for each successful frame; repeating the same setup is much easier than rebuilding it from memory.
What flashlight works for light painting?
An LED flashlight with a steady beam, a simple on/off switch, and fresh batteries is a good starting choice. A smaller flashlight is easier to attach to homemade tools, while a brighter model helps when you add diffusers or fiber strands.
How do I change the color of a light tool?
Place a colored gel or transparent colored plastic over the flashlight lens. Test it in a dark room first, since filters can reduce brightness and make some colors appear weaker than expected.
What camera settings should I start with?
Try manual exposure at 10 to 20 seconds, f/8, and ISO 100 or 200, then adjust for your scene and light source. Use a tripod, focus before darkening the scene, and check the image after each test.
Can I make light painting tools without special supplies?
Yes. A flashlight, cardboard tube, translucent packaging, tracing paper, tape, and transparent colored plastic can make useful starter tools. Household materials may not produce perfectly even effects, but they are enough to test shapes, color, and movement before investing in purpose-made accessories.